Types of Microphones
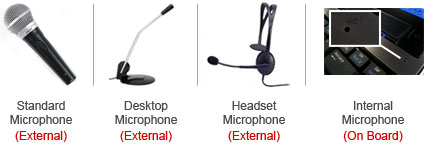
External
If you are using an external Microphone, you must first plug this microphone into your computer. The sockets are on your sound card are located at the back of your computer, but can occasionally be found on the front. The socket you want to plug the microphone into is usually pink (microphone) and located next to two other sockets; one green (speakers) and the other blue (line in).
On lower quality sound cards there may be only two sockets, one for speaker out and one for line in. If this is the case use the line in. The sockets will be labelled so if they are not colored you will be able to see a microphone symbol (for the microphone socket) or an arrow pointing downwards (for the line in socket). If you cannot establish which one to use you can find it by trial and error.
On Board
If you are using a microphone built into your computer skip to the section "Windows Audio Settings"